Storms can be exhilarating to watch from the comfort of your home, but they can leave behind quite a mess—especially on your roof. If you’ve recently weathered a storm in Overland Park, it’s crucial to address any roof damage promptly to prevent further issues. Here’s a guide to help you navigate the post-storm chaos and get your roof back in top shape.
Step 1 – Stay Safe First
Before inspecting any potential damage, prioritize your safety. Severe weather conditions can leave behind dangerous debris and unstable structures. If there’s any risk of continued storms or unsafe conditions, wait until things have settled before venturing outside. Safety first—always!
Step 2 – Conduct a Preliminary Assessment
Once it’s safe, start with a visual inspection from the ground. Look for any obvious signs of damage such as missing shingles, sagging areas, or debris. Don’t be tempted to climb onto the roof yourself unless you’re absolutely certain it’s safe—rooftop inspections are best left to professionals.
Step 3 – Document the Damage
Taking detailed photos of the damage can be incredibly helpful for insurance claims and repair estimates. Capture various angles and close-ups to provide a comprehensive view of the extent of the damage. This documentation will assist both your insurance company and any roofing professionals you might hire.
Step 4 – Secure Your Property
If you notice leaks or missing shingles, it’s crucial to take temporary measures to protect your home. Use tarps or plywood to cover any exposed areas, ensuring you secure them well to prevent further water damage. This is a temporary fix until professional help can arrive.
Step 5 – Contact Your Insurance Company
Reach out to your insurance provider to report the damage. Provide them with the photos you’ve taken and any relevant details about the storm’s impact on your property. They’ll guide you through the claims process and let you know what’s covered under your policy.
Step 6 – Call in the Experts
When it comes to roof storm damage, professional help is essential. An experienced roofing contractor like us at Brewster Roofing can conduct a thorough inspection to assess the damage and recommend necessary roof repairs. They’ll have the expertise to identify hidden issues that might not be immediately apparent and offer a detailed repair plan.
Step 7 – Get a Detailed Repair Estimate
Once you’ve contacted us here at Brewster Roofing, we’ll provide a detailed estimate for the necessary repairs. This estimate should include the cost of materials, labor, and any additional work needed to restore your roof to its pre-storm condition. Make sure you understand every item on the estimate and don’t hesitate to ask questions.
Step 8 – Schedule Repairs Promptly
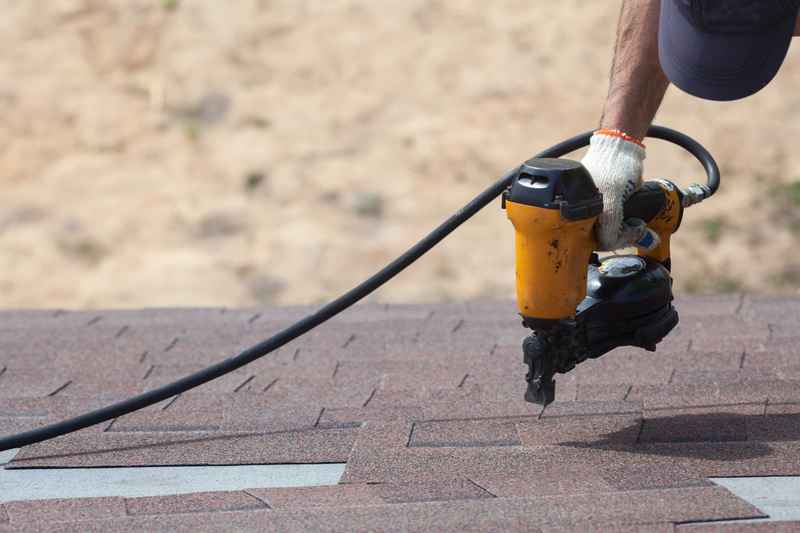
After reviewing the estimate and finalizing your decision, schedule the repair work as soon as possible. Delays can lead to worsening damage and higher repair costs. Brewster Roofing is committed to prompt, efficient service to ensure your roof is repaired and your home is protected.
Step 9 – Monitor the Repair Process
Stay in touch with your roofing contractor throughout the repair process. Regular updates and communication will ensure that everything is on track and that any concerns are addressed promptly.
Step 10 – Follow Up with a Final Inspection
Once repairs are complete, request a final inspection to ensure all issues have been resolved. This step is crucial to confirm that your roof is in excellent condition and that no details were overlooked.
Ready to Restore Your Roof?
Storm damage can be daunting, but with the right approach and professional help, your roof will be back in shape before you know it. Brewster Roofing is here to support Overland Park homeowners through every step of the repair process. Our team is dedicated to delivering top-notch service and ensuring your home remains safe and secure.
Don’t wait for further damage—contact Brewster Roofing today to schedule your inspection and get a detailed estimate. Let’s restore your roof and give you peace of mind after the storm!

